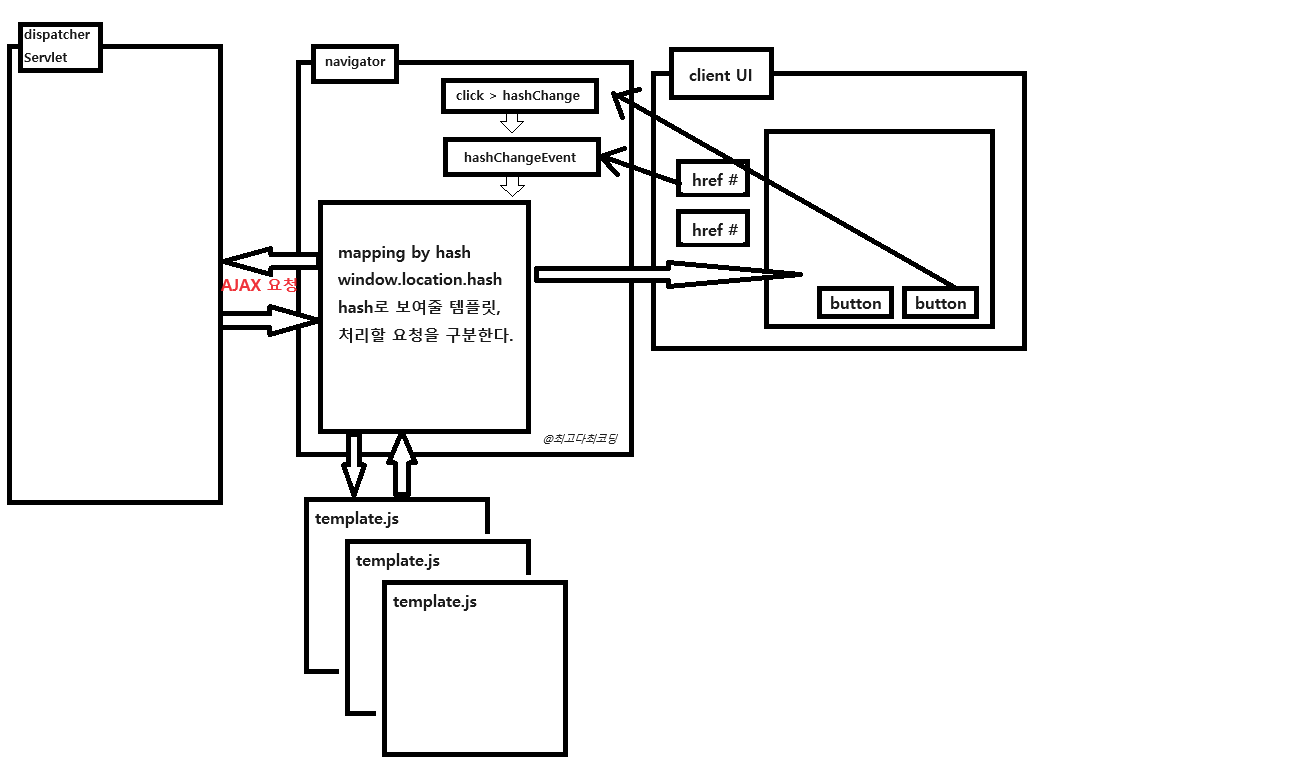
#무한스크롤
기존 페이징 방식에서 벗어나 최근 떠오르는 페이징 방식이다.
특정 개수만큼만 로딩하고 특정 뷰포트를 넘어가면 다음 아이템을 로딩하는 방식으로
비동기 방식으로 html을 누적 생성해낸다.
최근 다양한 sns에서 적용하고 있는 방식이다.
기존의 페이지네이션은 끝에 도달하면 다음 동작을 해야 다음 컨텐츠를 확인할 수 있는데
무한 스크롤은 끝에 도달했다고 인지하기도 전에 이미 다음 컨텐츠를 보여주고 있기 때문에
컨텐츠가 끝없이 쏟아지고 심리적으로 페이지네이션보다 클라이언트를 더 붙잡아두는 경향이 있다.
IntersectionObserver Interface는
특정 요소를 observe 하면서 해당 요소가 다른 요소와 교차하게 되는 시점을 감지하는 interface이다.
이 인터페이스를 활용하면 아이템 뷰포트를 옵서브 대상으로 지정하고
뷰포트가 다음 요소와 교차될 때, 혹은 교차되기 이전에 다음 아이템을 렌더링하여 무한 스크롤을 구현할 수 있다.
우리가 할 일은 교차를 감지하였을 때 어떤 동작을 할지 콜백함수를 작성해주는 일이다.
#IntersectionObserver 생성자
new IntersectionObserver(callback[, options])
callback(entries, observer)
콜백함수는 entries와 observer를 매개변수로 받을 수 있다.
observer는 콜백을 호출한 intersectionObserver 객체이다.
#intersectionObserverEntry(배열) Properties
- boundingClientRect
타겟 요소의 사각형 바운드
- intersectionRect
타켓의 가시 영역
- intersectionRatio
boundingClientRect에서 intersectionRect의 교차 비율로 백분율로 표현한다.
- rootBounds
observer의 root 바운드
- isIntersecting
observer의 root를 교차한 상태인지를 boolean 값으로 반환
- target
교차가 발생한 요소
- time
교차 시간
#options
- root
대상 요소의 조상 element
root의 바운딩을 감지기의 뷰포트로 사용
- rootMargin
교차 영역 계산시 사용할 바운드에 적용할 오프셋 문자열로
계산할 바운딩 영역을 증가시키거나 감소시킬 수 있다.
기본값은 "0px 0px 0px 0px"이다.
값을 잘못 설정하면 syntax error가 발생한다.
- threshold
대상의 가시영역과 바운딩 영역의 교차 비율에 대한 역치
0.0~ 1.0 사이의 숫자 값을 갖는다.
0.0은 root가 가시영역에 조금이라도 보일 때 대상을 볼 수 있는 것으로 감지하고
1.0은 root가 가시영역에 온전히 보였을 때 대상을 볼 수 있는 것으로 감지한다.
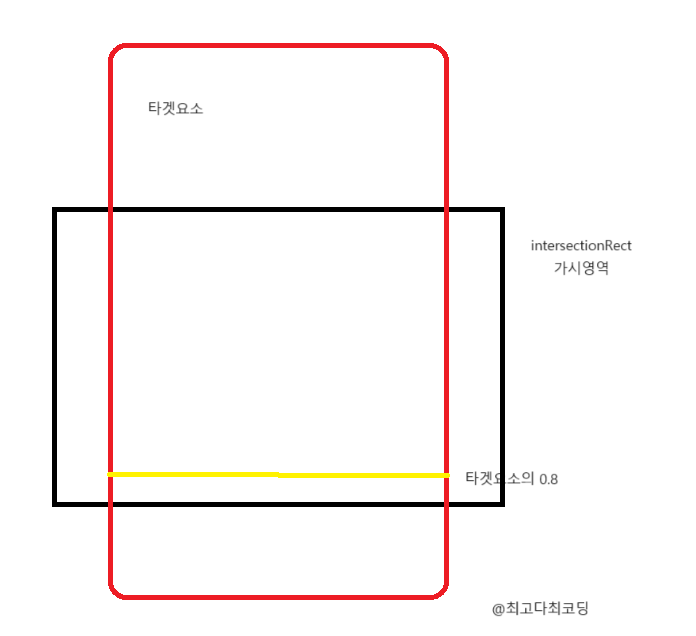
threshold를 0.8로 설정하면
스크롤을 내리다 타겟요소의 0.8을 넘으면 observer가 콜백함수를 호출한다.
threshold의 범위를 초과하여 설정하면 range error가 발생한다.
#메소드
- disconnect()
모든 대상의 주시를 해제
- observe()
주어진 대상 요소를 주시
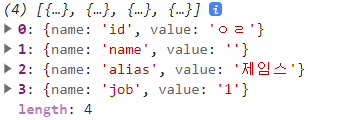
- takeRecords()
모든 주시 대상에 대한 entries를 반환
- unobserve()
특정 대상 요소에 대한 주시를 해제
https://developer.mozilla.org/ko/docs/Web/API/IntersectionObserver
IntersectionObserver - Web API | MDN
Intersection Observer API (en-US)의 IntersectionObserver 인터페이스는 대상 요소와 상위 요소, 또는 대상 요소와 최상위 문서의 뷰포트가 서로 교차하는 영역이 달라지는 경우 이를 비동기적으로 감지할 수
developer.mozilla.org
#구현 예시
const $result =$("#toObserve");
const $end = document.createElement("div");
$end.id = 'product-list-observed';
$result.append($end);

const callback = (entries, observer) => {
	entries.forEach((entry) => {
		if (entry.isIntersecting) {
			firstResult += 20;
			filterDto.firstResult = firstResult;
			api.continueSearchResult(filterDto, observer);
		}
	});
}
const options = {
	root: null, // 뷰포트를 기준으로 타켓의 가시성 검사
	rootMargin: '0px 0px 0px 0px', // 확장 또는 축소 X
	threshold: 1 // 타켓의 가시성 0%일 때 옵저버 실행
};
const observer = new IntersectionObserver(callback, options);
observer.observe($end);